Azure KeyVault Setup and Secret Migration
🧱 Service Inputs
1. Login to the Azure Portal
1.1 Open Azure Portal and Sign In
Open the Azure Portal and sign in:
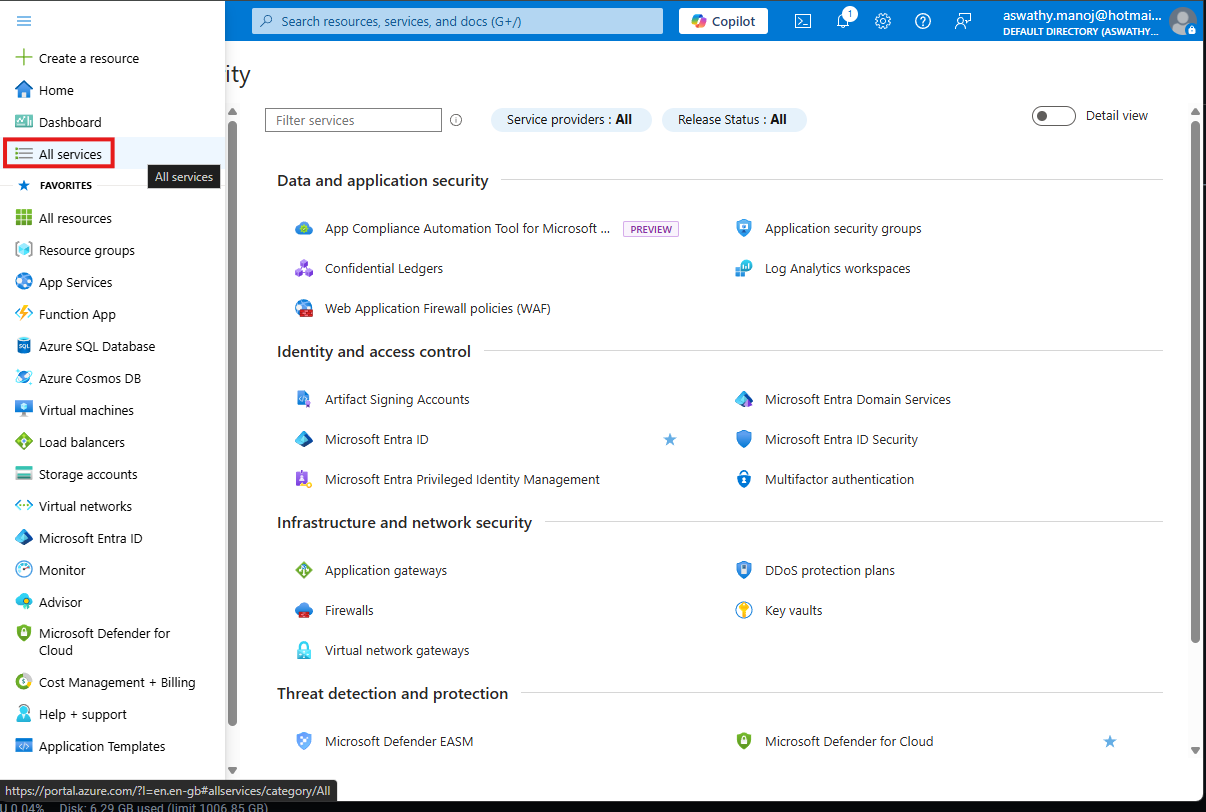
1.2 Go to All services
From the left navigation (or the top search bar), open All services.
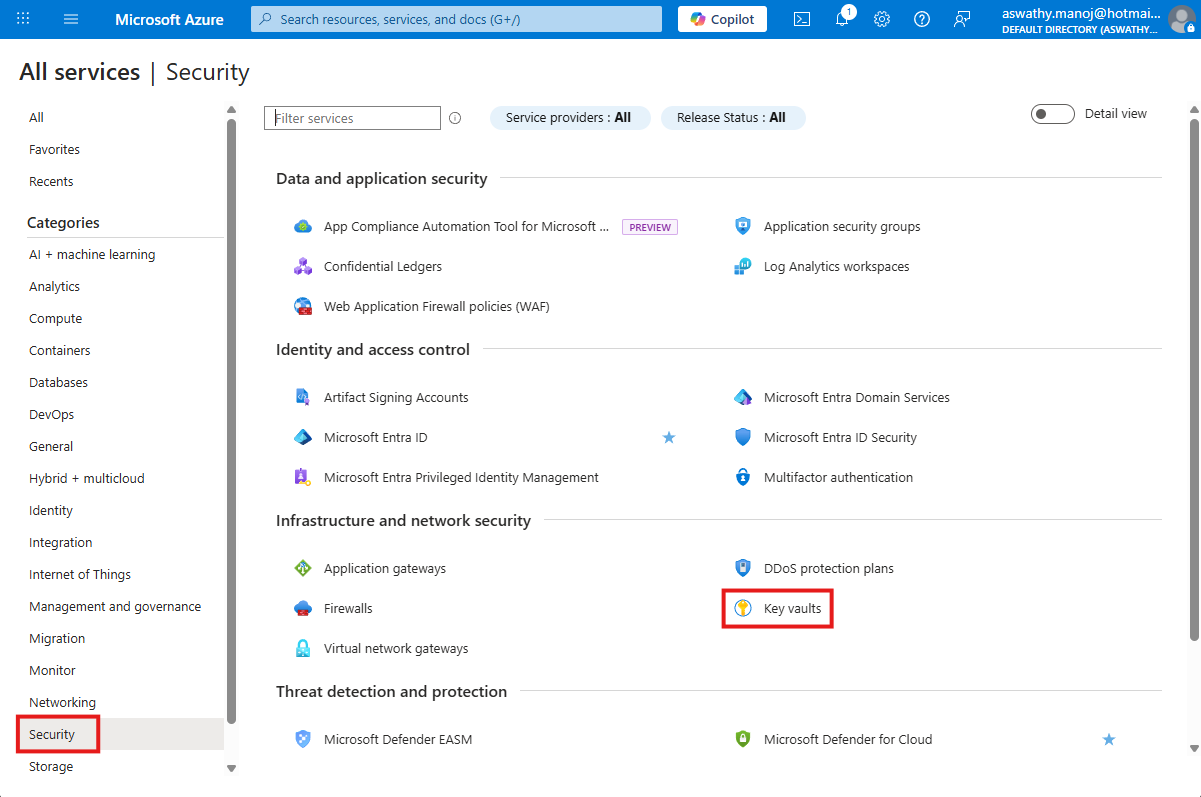
1.3 Go to Security → Key Vaults
In All services, expand Security, then select Key Vaults, and click Create button.
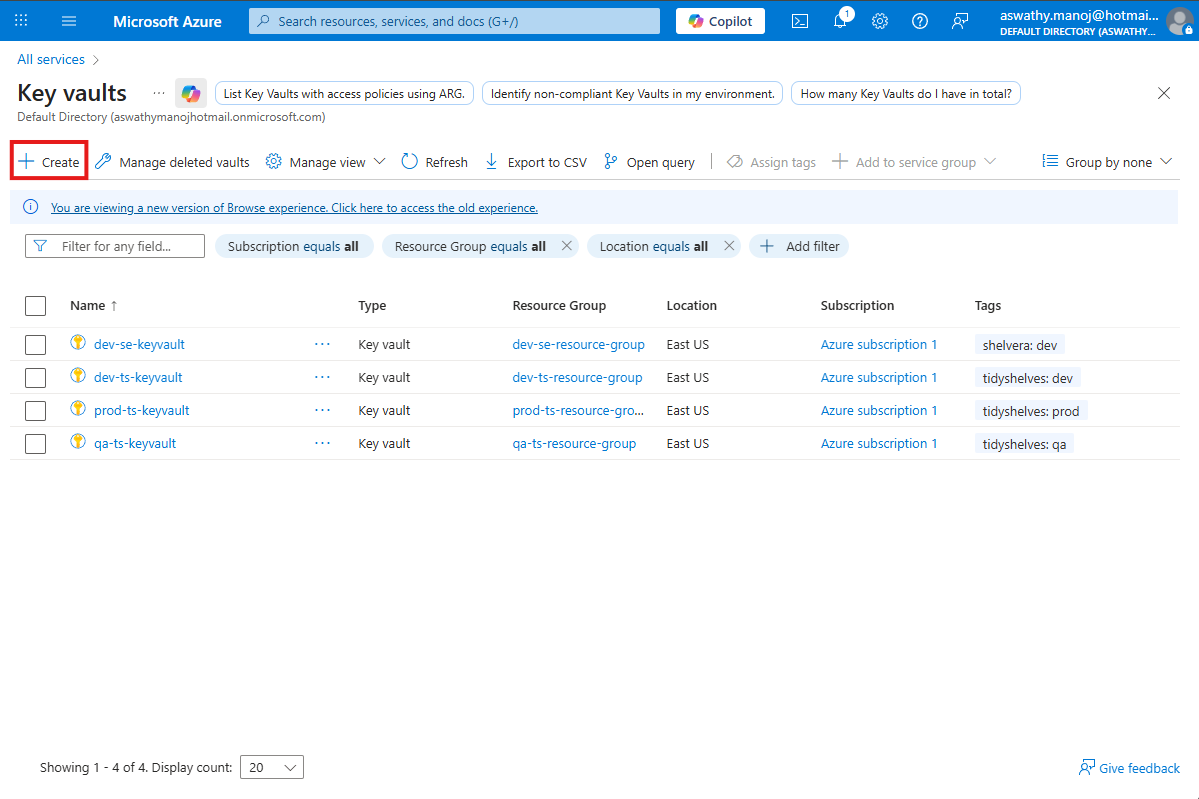
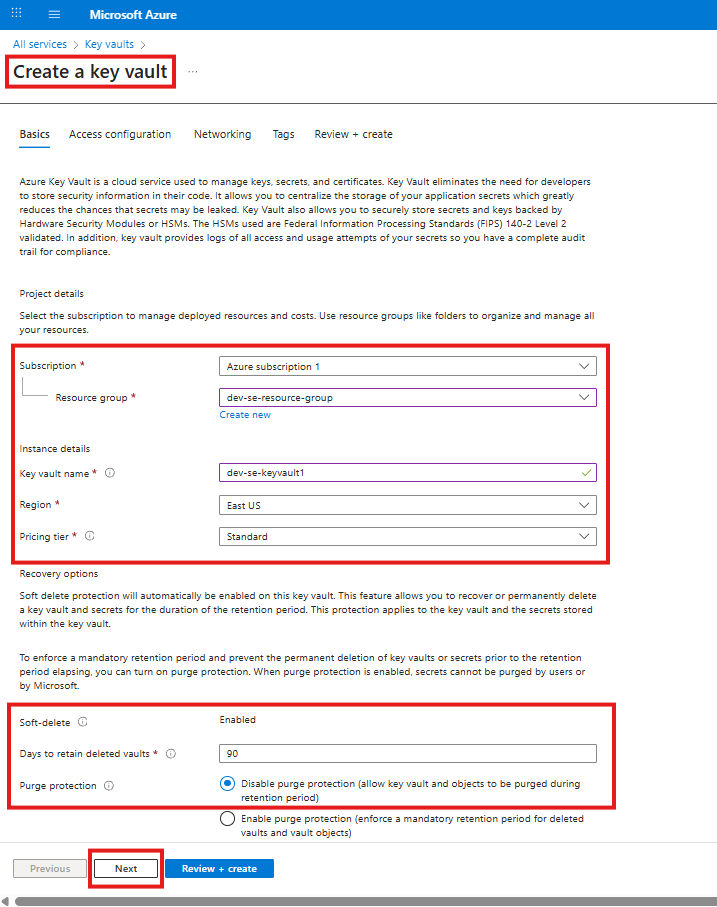
1.4 Create a Key Vault
In Key Vaults, click Create to start creating a new Key Vault.
Fill in the details as follows:
Subscription: Default Subscription (or select the appropriate one)
Resource group:
dev-se-resource-groupKey vault name:
dev-se-keyvaultRegion: East US
Pricing tier: Standard
Leave all other options at their default values, then click Next.
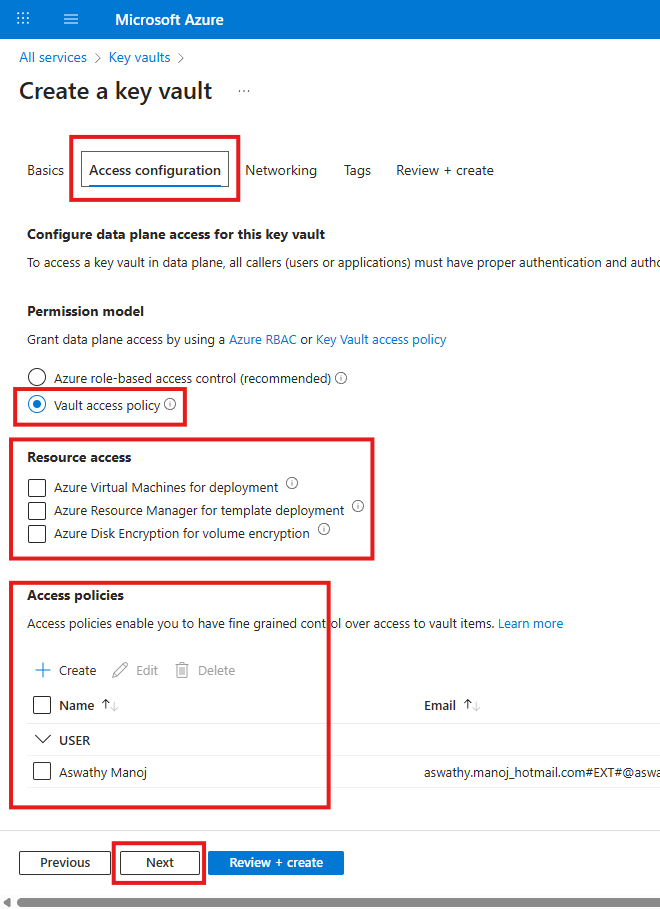
1.5 Access configuration
On the Access configuration tab, configure the following:
Permission model: Vault access policy
Leave all other options at their default values, then click Next.
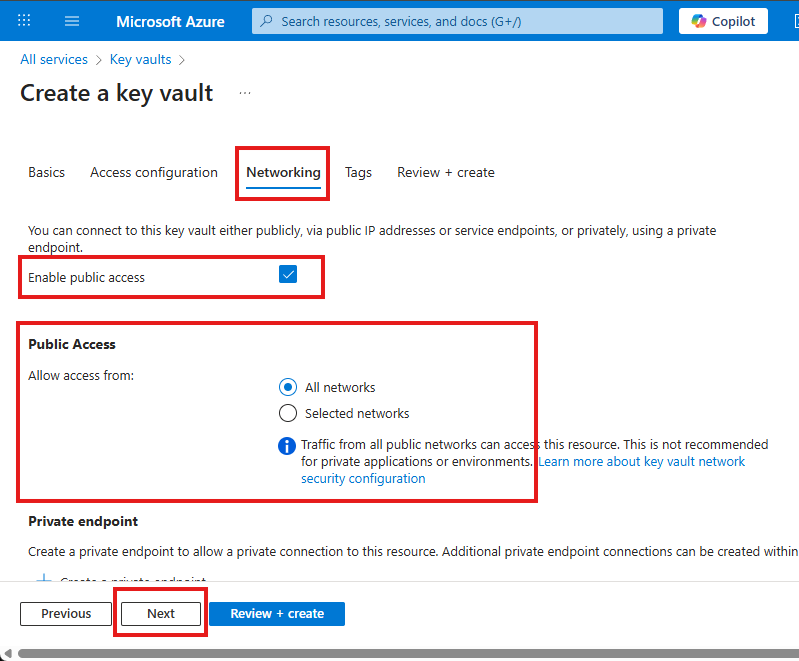
1.6 Networking
On the Networking tab, leave all options at their default values.
Click Next to continue.
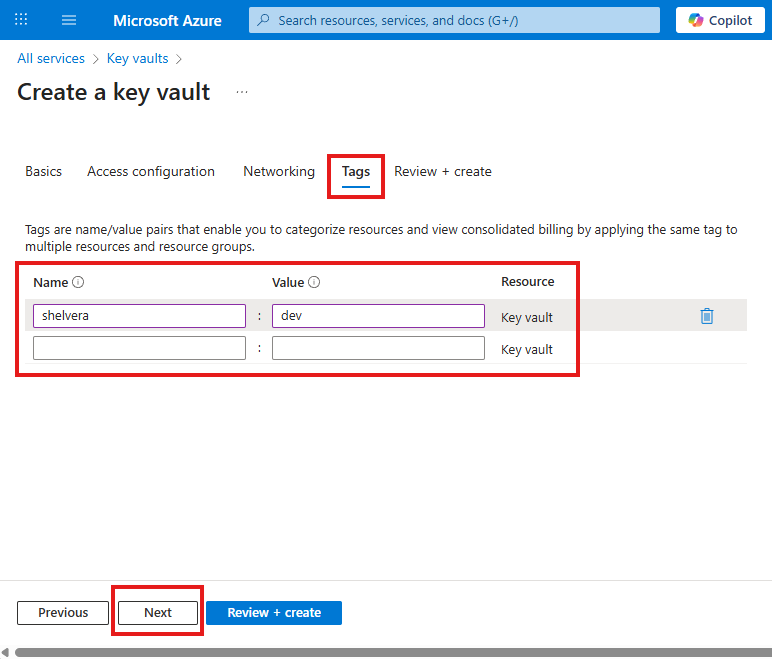
1.7 Tags
On the Tags tab, add the following tag:
Name:
ShelveraValue:
devAfter adding the tag, click Next.
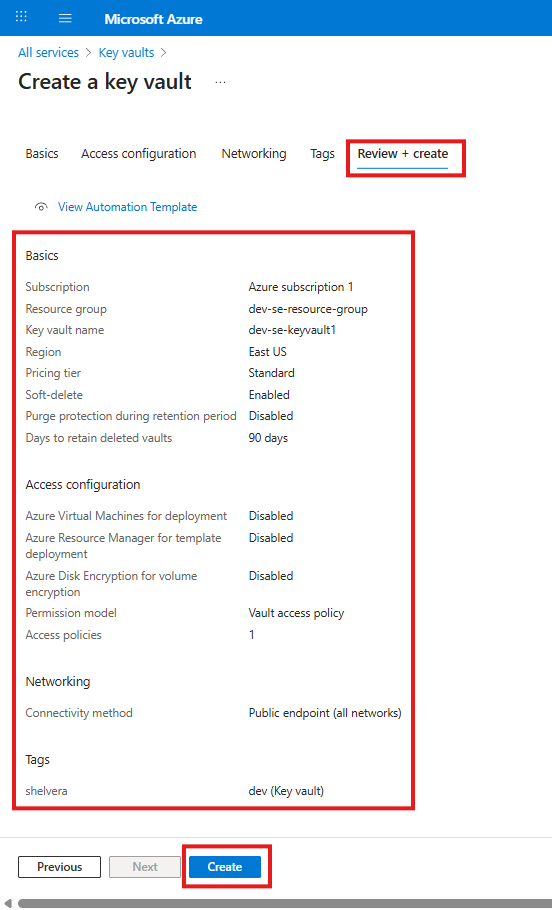
1.8 Review + Create
On the Review + create tab, verify the configuration.
Click Create to start the deployment.