Configure KeyVault for ACA
🧱 Service Inputs
1. Login to the Azure Portal
1.1 Open Azure Portal and Sign In
Open the Azure Portal and sign in:
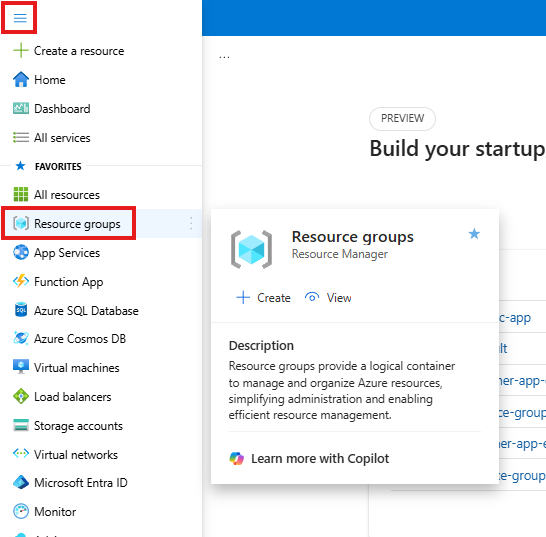
1.2 Go to Resource groups
From the left navigation, click and open Resource groups.
1.3 Click the Resource group
From the Resource groups list, click your resource group:
Resource group name:
dev-se-resource-group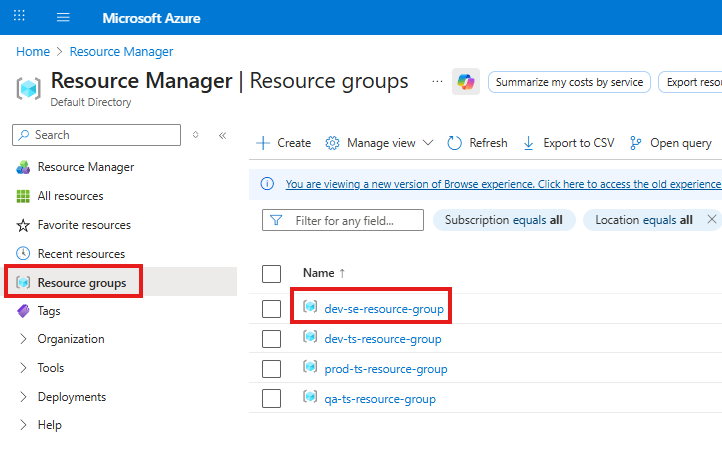
1.4 Select the Key Vault
From the resources list inside the resource group, click the Key Vault:
Key Vault name (populated):
dev-se-keyvault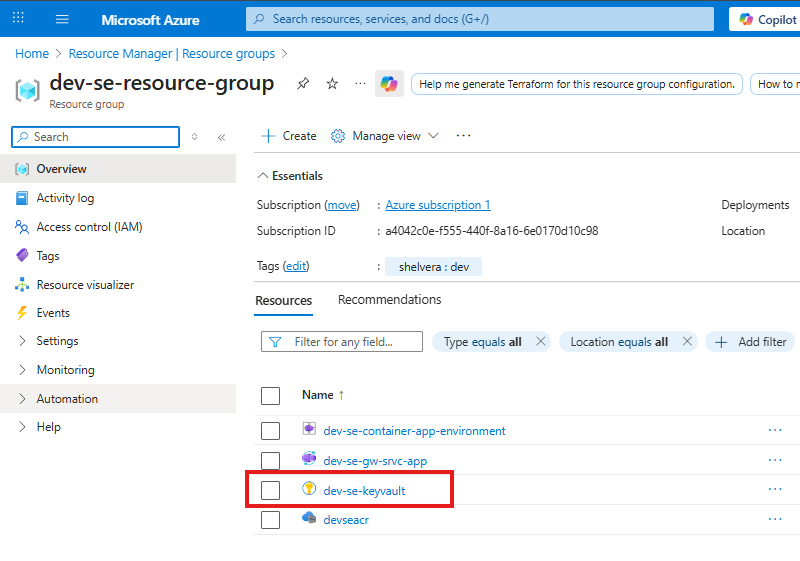
2. Configure Access Policies
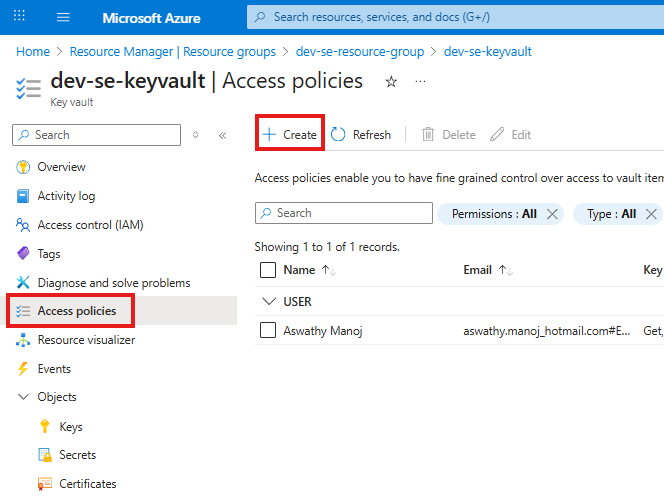
2.1 Open Access policies and click Create
In the selected Key Vault, navigate to Access policies from the left menu, then click Create.
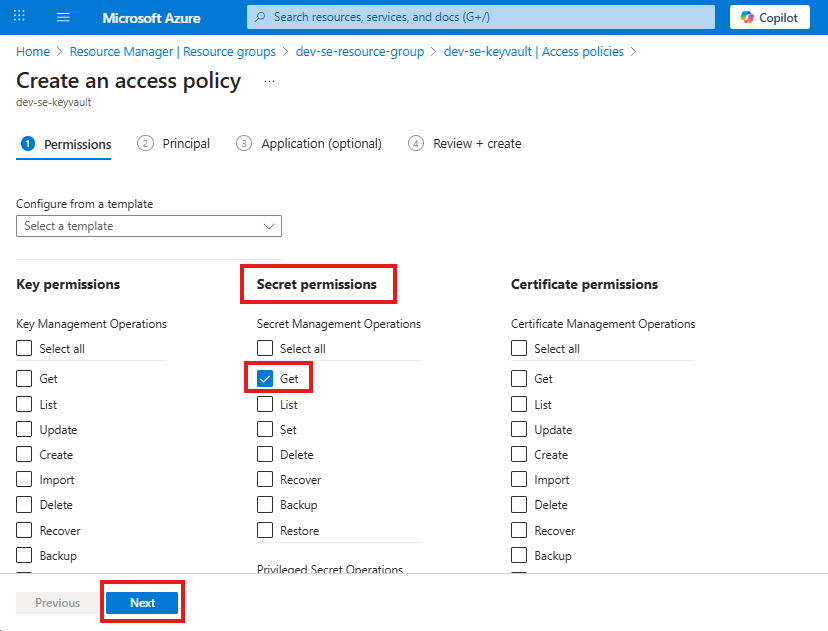
2.2 Select Secret permissions and continue
Under Secret permissions, select Get, then click Next.
2.3 Select the Azure Container App identity
In Principal, search for your Azure Container App and select it:
App name (populated):
dev-se-gw-srvc-appAfter selecting the app, click Next.

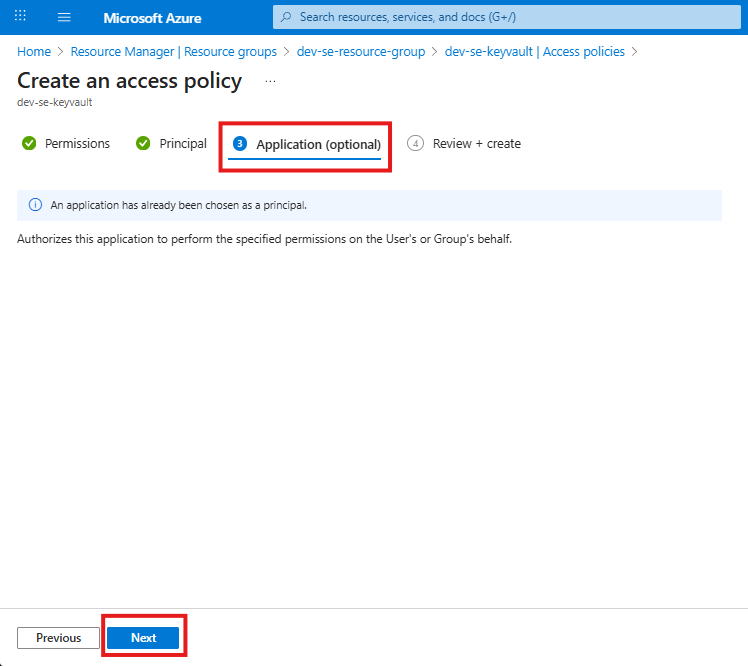
2.4 Application settings – keep defaults
On the Application screen, leave all settings at their default values, then click Next.
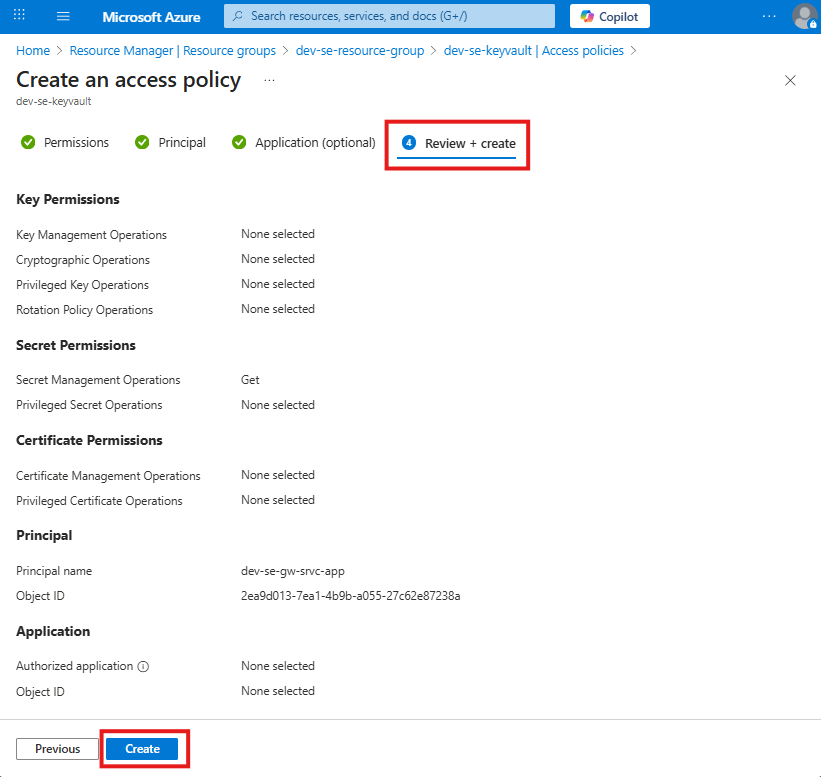
2.5 Review and create the access policy
On the Review + create screen, review the configuration and click Create.
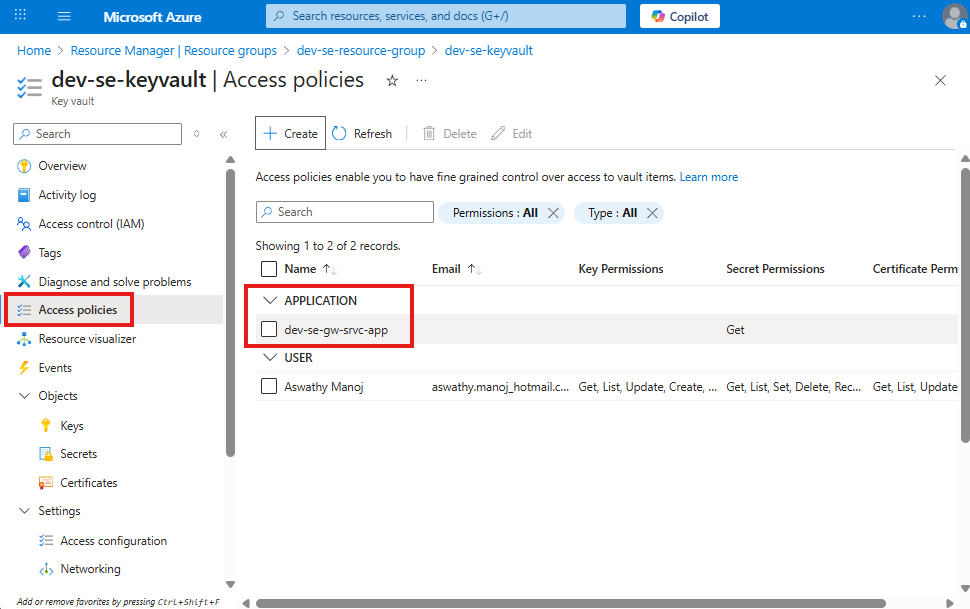
2.6 Access policy created successfully
The access policy has been created successfully and is now visible under Access policies for the Key Vault.
This confirms that the Azure Container App identity has Get access to secrets in this Key Vault.